Mic placement is a key aspect of capturing a great drum sound. The position of your microphones in relation to the drum kit can make all the difference in the quality and clarity of the sound.
In this article, I will explore the different types of microphones used for recording drums, how to mic drums, and some tips and tricks to help you achieve the finest possible drum sound.
Types of microphones for drum miking
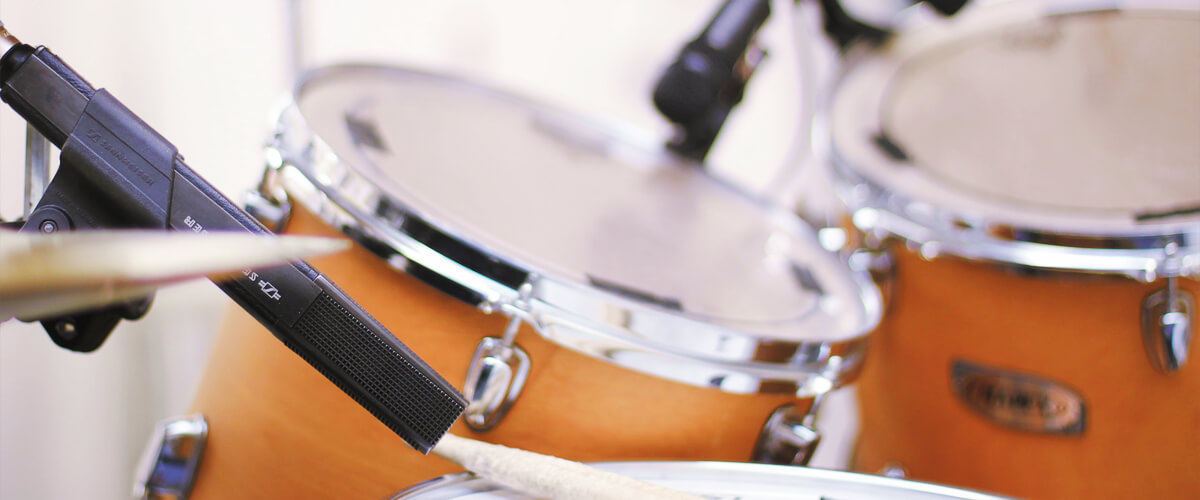
There are three main types of microphones. Let’s consider a brief description of each:
- Dynamic microphones are the most common type of mic used for live sound reinforcement and recording. They’re durable and can handle high sound pressure levels.
- Condenser microphones are more sensitive than dynamic mics and offer a wider frequency response. They require an external power source, either from a battery or phantom power, to operate.
- Ribbon microphones are known for their warm and natural sound, with a smooth high-end and rich midrange. They use a thin strip of metal suspended between two magnets to generate an electrical signal.
Drum miking can be approached in many different ways depending on the scenario and the desired outcome. I’ve prepared some pros and cons of different drum miking scenarios using microphones for drums:
| The Way of Drum Miking | Pros | Cons |
|---|---|---|
| Studio Recording |
|
|
| Live Sound Reinforcement |
|
|
| Home Recording |
|
|
Basic drum mic techniques
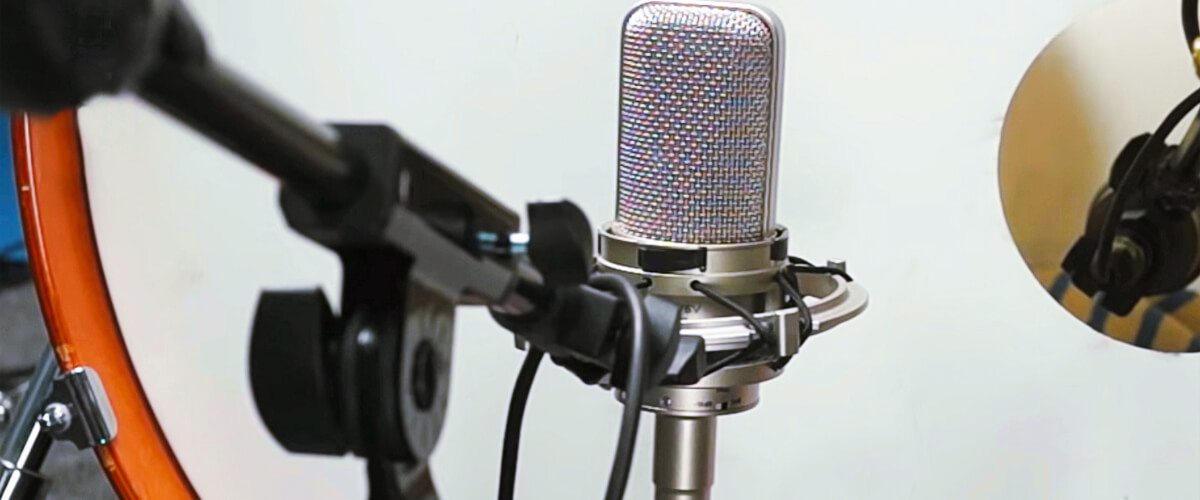
There are many different mic placement techniques for drums, but I advise you to try these basic techs for capturing a well-balanced drum sound:
- Overhead Miking:
Overhead mics are placed above the drum kits. A spaced pair of condenser mics or a stereo mic can be used for this purpose. The mics should be positioned equidistant from the snare drum to maintain a balanced stereo image. - Kick Drum Miking:
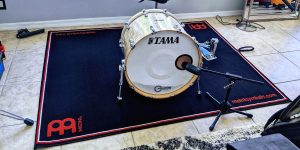
A dynamic or condenser microphone can be used to capture the low-end punch of the kick drum. The mic should be placed inside the kick drum, close to the beater head. You can also use a boundary or sub-kick microphone placed outside the drum. - Snare Drum Miking:
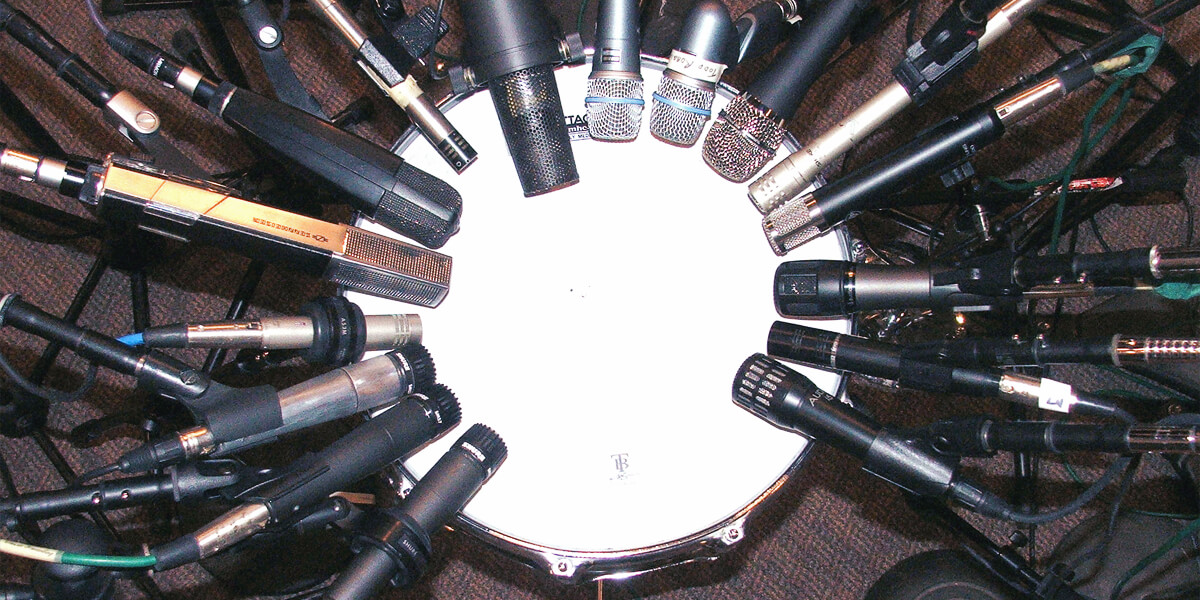
A dynamic mic, like the Shure SM57, is a common choice for capturing the sound of the snare drum. The mic should be positioned just above the rim of the drum, pointing at the center of the snare head. - Tom Miking:
Dynamic mics or small diaphragm condenser mics are commonly used for capturing the sound of toms. The exact placement will vary depending on the size of the drum and the playing style of the drummer.
These basic drum miking techniques can be adjusted and combined to achieve a wide range of drum sounds, depending on the desired style and tone.
Each technique of mic placement for drums has its own unique benefits and limitations. So, in search of a suitable technique for me, I’ve tried a lot and can share what each can offer you:
| Drum Miking Technique | Benefits | Limitations |
|---|---|---|
| Overhead Miking |
|
|
| Kick Drum Miking |
|
|
| Snare Drum Miking |
|
|
| Tom Miking |
|
|
Advanced drum mic techniques
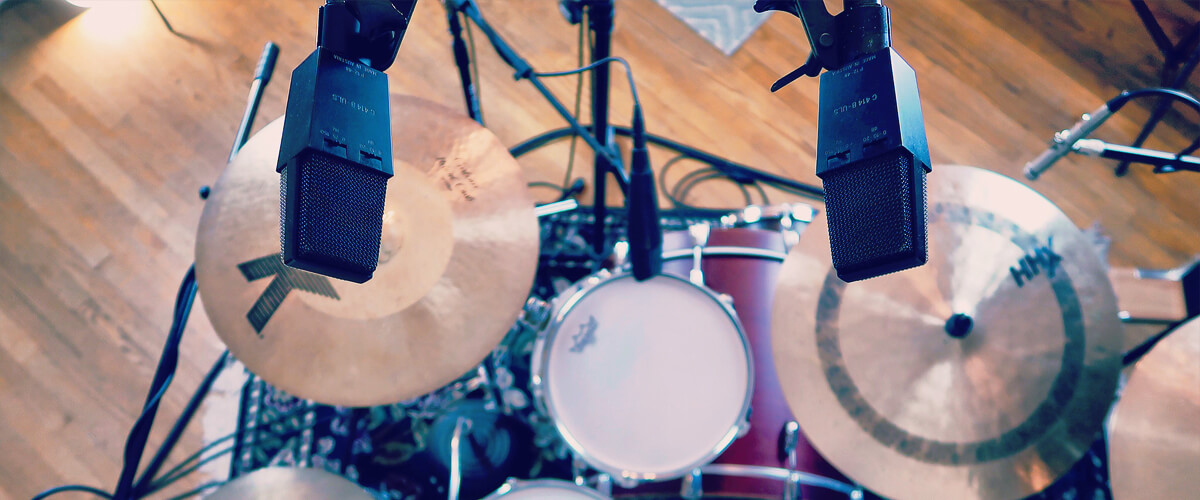
In addition to the basic drum mic techniques, I also tried advanced ones that can be used to achieve a wide range of sounds and textures. I can highlight the following:
Close-miking involves placing microphones very close to each drum for highly detailed and isolated sound. This technique allows for control of each individual drum in the mix and is commonly used in genres like metal, rock, and pop. Close-miking allows for much flexibility in the mix, making it easy to emphasize or de-emphasize specific drums as needed.
Stereo imaging is used to create a wide and immersive stereo sound field. One common technique is using a spaced pair of overhead microphones placed a few feet above the drum kit and pointing at the snare. This can be particularly effective in genres like jazz, where a natural and spacious drum sound is desired.
The mid-side (M/S) mic technique involves using a cardioid microphone in the center of the drum kit to capture the “mid” or center of the sound and a figure-eight mike placed perpendicular to the center one for the “side”. This technique is particularly useful in genres like folk, acoustic, and classical music, where an ambient sound is desired. However, it requires careful attention to phase alignment, as any phase issues can cause the stereo image to sound unnatural or hollow.
Phase alignment is a technique used to ensure that all of the mics drum sets are in phase together since they can cancel each other out and create an unnatural and hollow sound. Phase alignment can be achieved by adjusting the distance and angle of the microphones or by using delay compensation software.
Drum miking for live performances
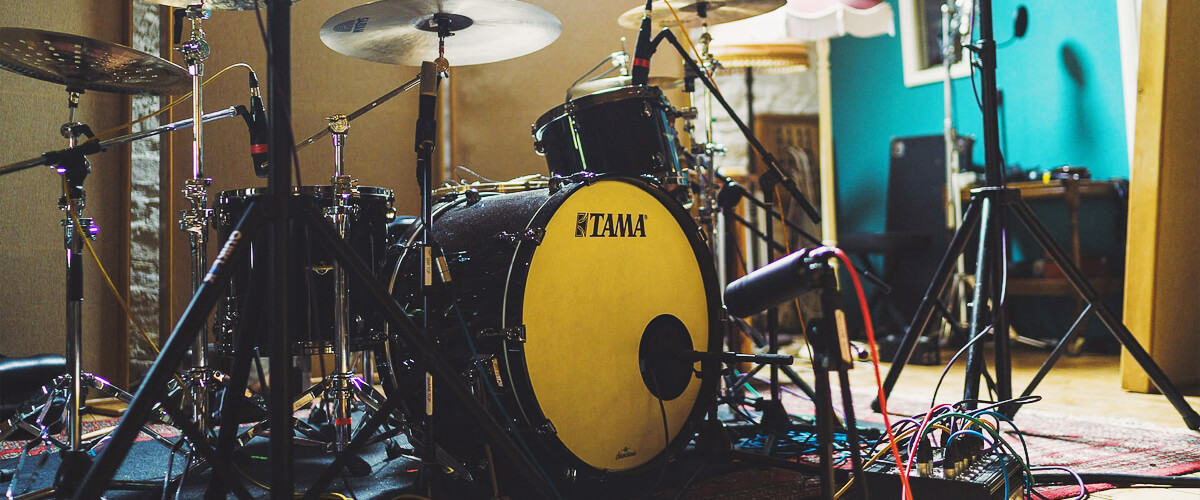
The live drum mic setup primarily focuses on the drum kit’s overall sound. Here are the basic mic placement techniques for drums I use for a live setting:
- Overhead microphones are the most common and essential for miking the drum kit in a live setting. They are typically placed above the kit, pointing downwards at an angle of around 45 degrees. Two overhead microphones are used for stereo imaging, each on either side of the drum kit.
- In a live setting, the kick drum is often miked separately to provide additional low-end presence and punch. A dynamic mic is commonly used for this purpose.
- A snare drum microphone is used to handle its sound. It is usually a dynamic microphone and is positioned above the snare drum to catch the attack and snap.
- Individual tom microphones are rarely used in a live performance, but they can provide the isolated sound of each individual tom. These mikes are positioned near each tom.
When it comes to mic drums for live performance, there are a few tips I always keep in mind to achieve the best possible sound:
Big Outdoor Festivals:
To achieve the finest possible sound, I use high-quality microphones and place them strategically. It can be mic isolation shields or gobos to minimize spills and achieve a more focused sound.
Small Clubs:
Here the goal is to achieve a steady sound that is not too loud and overwhelming. In this case, I use microphones with good off-axis rejection and position them closer to the drums.
Recording Live Performances:
For me, it’s a difficult task, as I need the energy and dynamics of the live performance. I record each channel separately during the mixing stage.
Acoustic vs. Electronic Drums:
When miking acoustic drums, I use microphones that can handle high sound pressure levels. When miking electronic drums, it’s better to get mics that can capture the individual drum pads or triggers. Use a good DI box for the output signal from the electronic drum module.
FAQ
What types of microphones are best for drum miking?
Several types of microphones can be used for drum miking, but dynamic, condenser, and ribbon microphones are the most common choices.
Can I use the same drum miking technique for recording and live performances?
Yes, you can use the same drum miking technique, but you may need to make some adjustments depending on the specific scenario and your desired sound.
What should I consider when miking drums in a small rehearsal space?
You should consider the acoustics of the room, the type of microphones you are using, and the positioning of the mics.
Should I use a pop filter or windscreen when miking drums?
No, you do not need to use a pop filter or windscreen when miking drums, as they are not typically used to reduce plosives or wind noise in drum miking.

